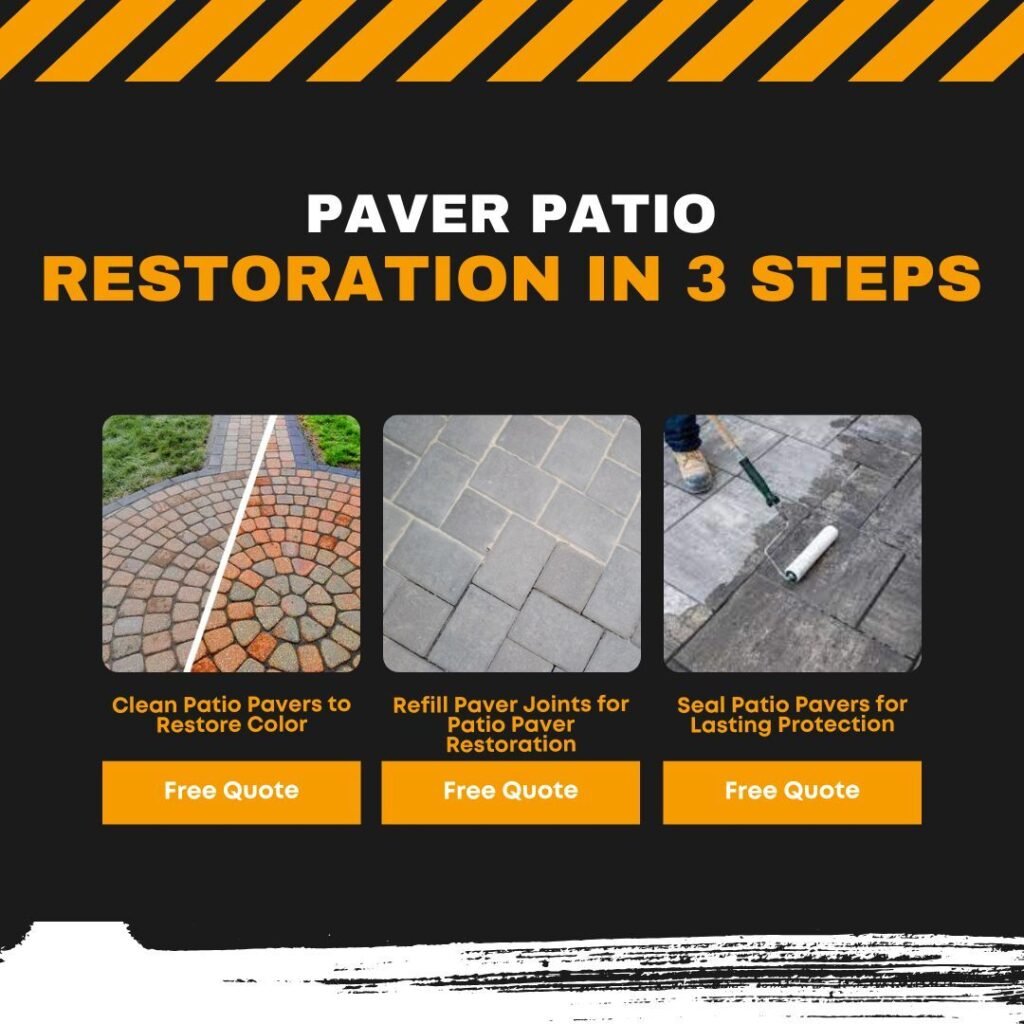
Paver Patio Repair: Restore Your Patio in 3 Easy Steps
A patio should draw you outside. It should feel warm, clean, and inviting. Yet most paver patios do not age gracefully. Sunlight steals their color. Rain works its way into the joints. Weeds find every tiny gap. Some pavers sink while others rise, leaving a surface that looks tired and uneven.
This is where paver patio restoration changes everything. It does not just make the space look better. It protects your home’s value, keeps the area safe underfoot, and revives its charm. The same approach works beautifully for brick patio restoration.
In the next few minutes, you will see how to restore pavers, how to brighten dull surfaces, and how to make them look new again. Three clear steps and results you can admire every time you step outside.
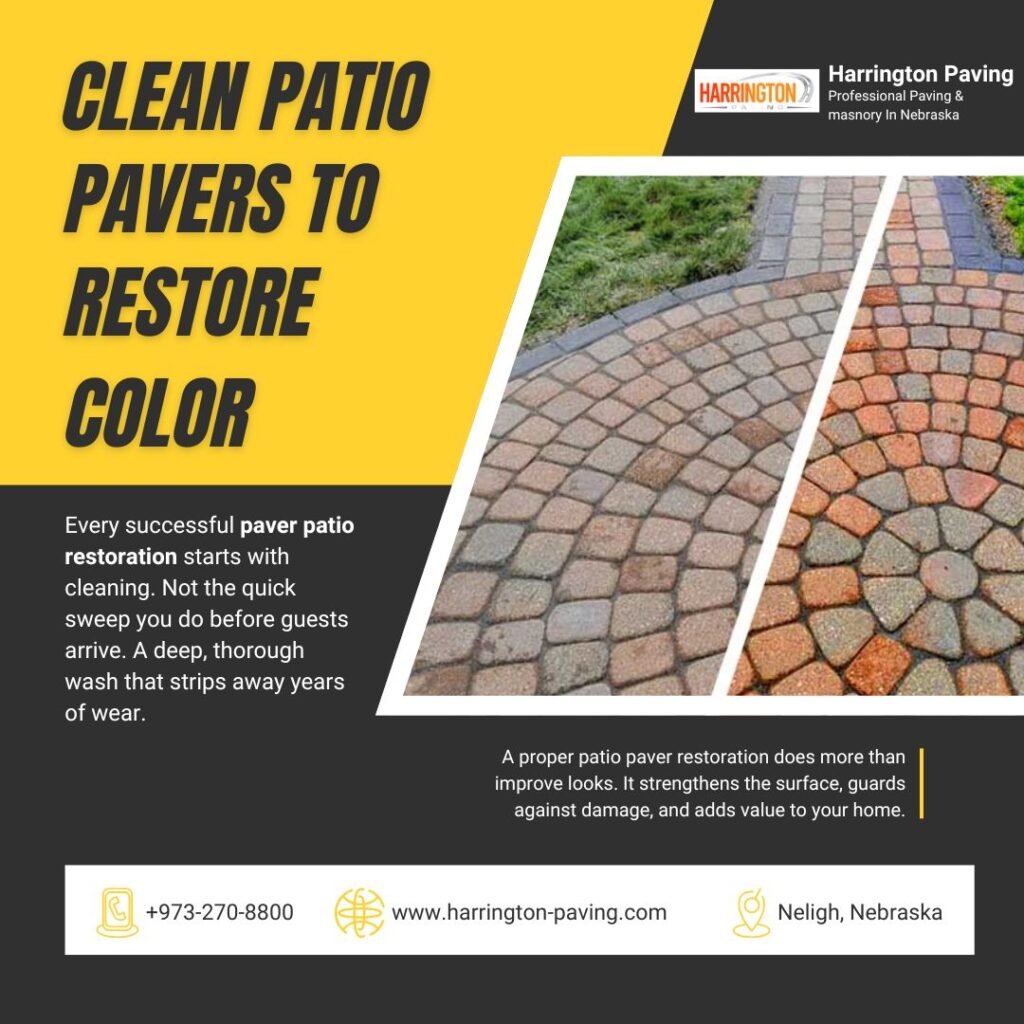
Step 1 – Clean Patio Pavers to Restore Color
Every successful paver patio restoration starts with cleaning. Not the quick sweep you do before guests arrive. A deep, thorough wash that strips away years of wear.
First, give yourself room to work. Remove every chair, pot, and decorative piece until the space is bare.
Then deal with the weeds. Pull them out slowly so the roots come with them. If they cling too hard, use an eco-friendly weed killer that will not harm pets or plants.
Now bring out the pressure washer. Let the water lift away dirt, moss, and algae that have settled into every surface. This is how to brighten dull pavers instantly. Watch the color come back as the grime disappears.
Some stains will fight harder. Rust yields best to a proper rust remover. Oil or grease can be coaxed out with hot water and dish soap, or a degreaser if it has set deep. Work patiently until the marks fade.
Look at the joints. Old sand breaks down and loses its grip. Sweep or wash it away so the new sand can settle strongly.
Once everything is spotless, walk away. Give the pavers 24 to 48 hours to dry completely. Skip this, and you risk trapping moisture under the sealant later. Dry pavers are the foundation for how to restore pavers the right way.
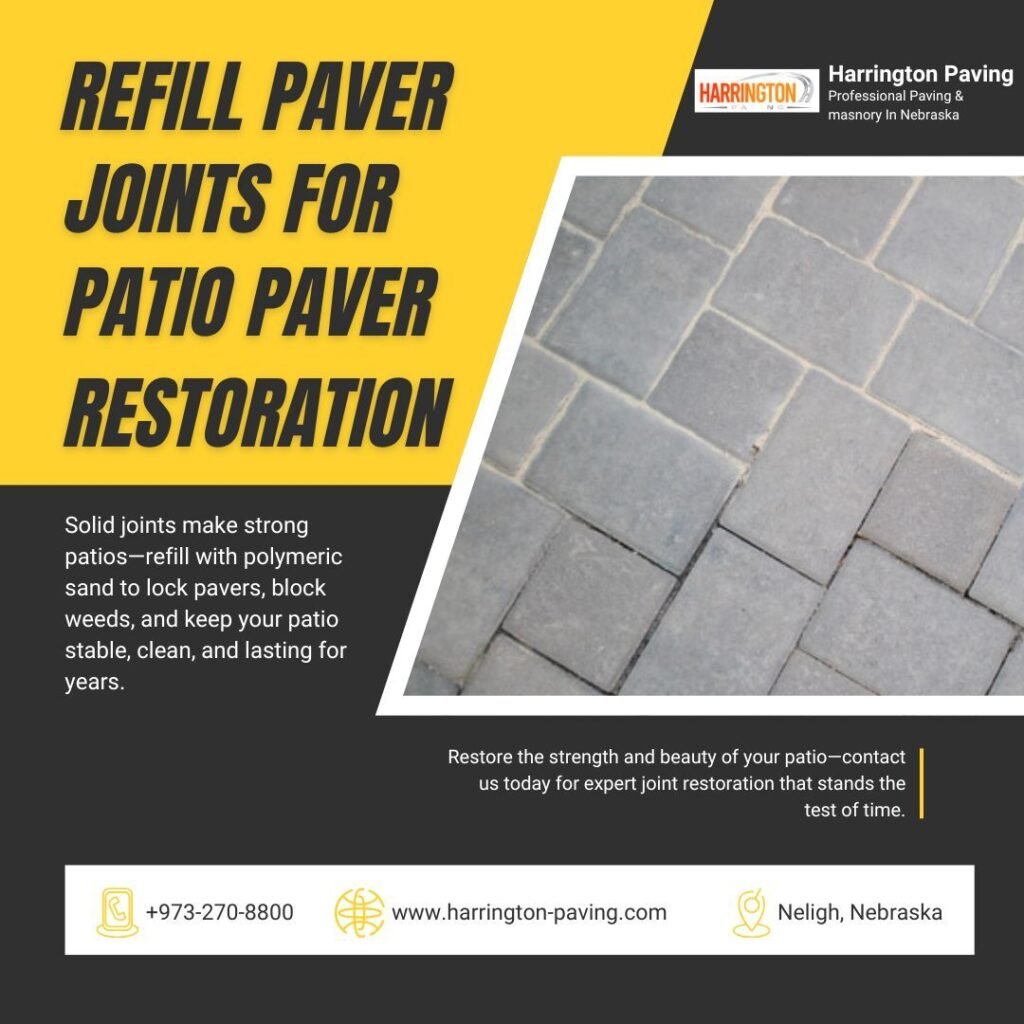
Step 2 – Refill Paver Joints for a Strong Patio Paver Restoration
Color alone will not save a patio. Strength comes from the joints. Without solid joints, pavers drift apart, weeds return, and the surface loosens. That is why refilling them is the heart of patio paver restoration.
The smartest choice is polymeric sand. It locks the pavers tightly together, stops weed growth, and makes your paver restoration last far longer.
Here is how to do it right:
- Pour polymeric sand across the patio until the joints are fully covered.
- Sweep the sand into the gaps with a stiff broom, working in different directions so every joint fills completely.
- Compact the surface with a plate compactor. This drives the sand deep where it belongs.
- Sweep away loose grains so none remain on top. This keeps the surface clean and stain free.
- Mist lightly with water until the sand darkens. This activates the binding agents that harden and lock everything in place.
Choose a calm, dry day. Wind or sudden rain will undo your work before it sets.
Place the sand just below the level of the pavers. This provides a smooth, even surface and enables natural movement without chipping.
When the sand dries and hardens, the contrast is obvious. The patio is stable to walk on, the lines are crisp, and the surface is ready for use for many years of without end repairs.
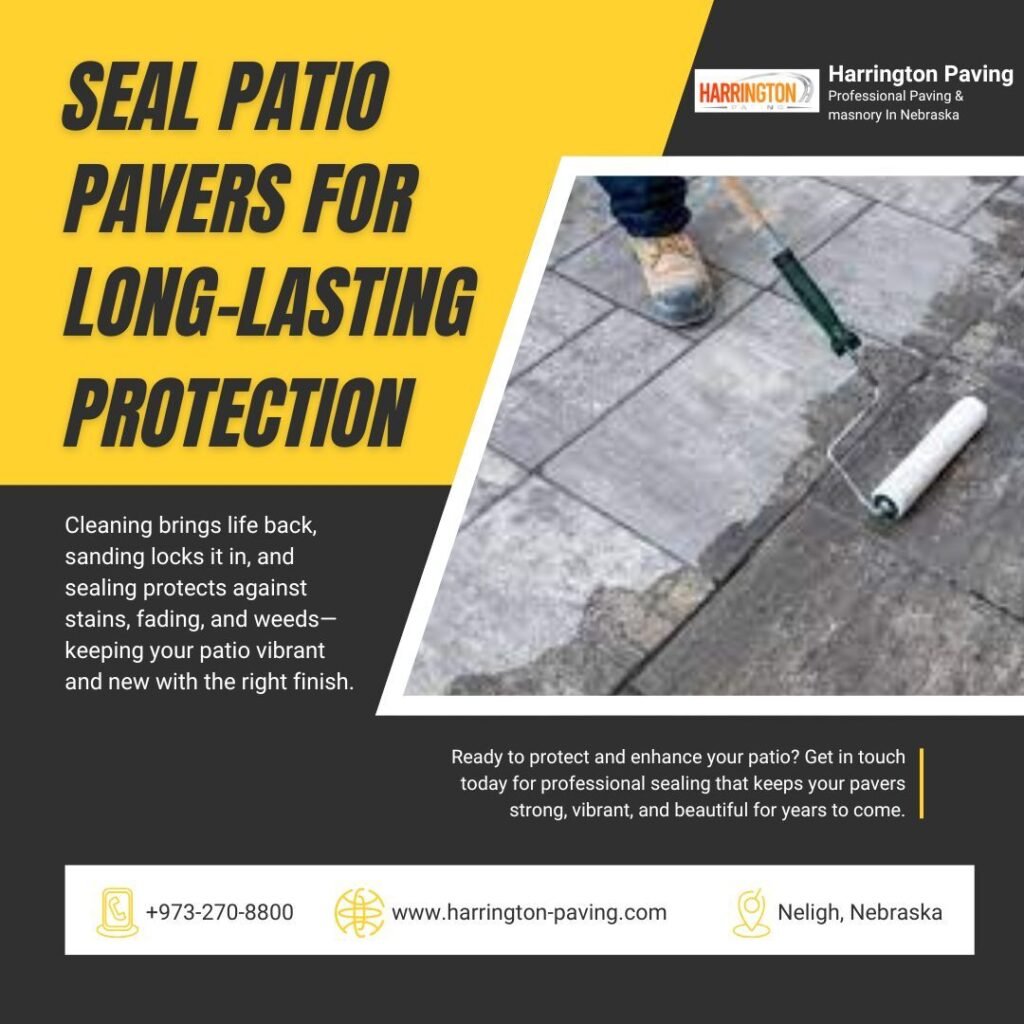
Step 3 – Seal Patio Pavers for Long-Lasting Protection
Cleaning brings the life back. Sanding locks it in place. Sealing is what keeps it that way. This is the step that shields your patio from stains, fading, and weather damage. It is also how to make pavers look new long after the work is done.
A quality sealant does more than protect. It deepens the color, gives the surface a clean finish, and slows down weed growth. The same approach works perfectly for brick patio restoration.
Select the right sealant
- Water based gives a soft matte look, is kinder to the environment, and cleans up easily.
- Solvent based brings a richer gloss, lasts longer, and makes the color appear deeper.
Choose your method
- Sprayer covers large areas quickly and evenly.
- Roller gives more control if you want to move slower.
- For the best finish, spray first and then roll lightly to spread the coating evenly.
For the best results
- Begin with completely dry pavers.
- Apply thin, even coats so the surface absorbs the sealant.
- Avoid puddles that could dry unevenly.
- Work in sections and keep a wet edge so the color stays uniform.
Once the last coat is down, walk away. Give it 36 to 48 hours before you set back the furniture or step on it. When you return, you will see color that looks richer, lines that look sharper, and a finish that feels fresh every season.
Patio Maintenance Tips to Keep Your Paver Patio Looking New
- An ideal paver patio renovation shall not last forever on its own. It is upkeep that makes it look beautiful year in and year out.
- Sweep daily, this keeps dirt from accumulating and weeds from growing.
- Treat all stains as soon as you notice them. New stains are simple to remove, old ones may be permanent.
- Replace the polymeric sand every two to three years. A good joint is a strong, level surface.
- Seal every now and then to protect against fading and weathering.
- Sweep the patio slowly once a year. Check for loose or damaged pavers. Fix them before the damage accelerates.
- Small acts of regular patio maintenance will keep the color, integrity, and character of your patio intact for many seasons to come.
Frustrated with weeds, cracks, or uneven pavers ruining your patio?
Our professional paver patio restoration brings back the beauty and strength of your outdoor space without you spending weekends struggling with repairs. Enjoy a flawless patio that looks brand-new..
Enjoy Your Restored Paver Patio for Years to Come
Three steps are all it takes. Clean the surface until it breathes again. Fill the joints so the pavers stand firm. Seal the top to protect their beauty. This is how to make pavers look new and keep them that way for years.
A proper patio paver restoration does more than improve looks. It strengthens the surface, guards against damage, and adds value to your home.
The tools are simple. The process is clear. All that is left is for you to begin. Pick a weekend and bring your patio back to life. Then enjoy every step you take across it.
Author